

You might think shooting film while traveling is a logistical nightmare reserved for the masochistic or the overly nostalgic. The common misconception is that analog photography is too fragile, too expensive, and too prone to being ruined by modern airport security to be viable for a three-week trek across Southeast Asia or a weekend in Paris. This simply is not the case. While digital sensors offer immediate gratification and high-ISO flexibility, film provides a distinct color science and a forced mindfulness that changes how you interact with a new culture. If you prepare correctly, the technical hurdles become minor background noise to the process of capturing a journey.
Choosing the Ideal Film Stock for Diverse Global Environments
Selecting the right film stock requires more than just picking a brand you like; it involves matching the emulsion’s chemistry to the light and color palette of your destination. If you are heading to the high-contrast, blue-toned islands of Greece, your needs differ significantly from someone capturing the earthy, muted tones of the Scottish Highlands. Carrying a single type of film for an entire trip is often a mistake that leads to missed opportunities or flat, uninspiring negatives.
Versatile Color Negative Options
For most travelers, a 400-speed color negative film is the baseline. Kodak Portra 400 (approx. $18.00 per roll) remains the industry standard for a reason. Its wide exposure latitude allows you to mess up your metering by two stops in either direction and still recover a usable image. It excels in skin tones, making it the primary choice for street photography in crowded markets. However, the high price point is a significant con for high-volume shooters.
A more budget-friendly alternative is Fujifilm Superia X-Tra 400 (approx. $12.00 per roll). This film features a fourth color layer designed to help with mixed lighting—specifically the green cast often found in fluorescent-lit train stations or night markets. It produces cooler greens and magentas compared to the warm yellows of Kodak. A downside is that it can look somewhat grainy in the shadows if underexposed even slightly.
Low Light and Black and White Classics
When your travels take you into dimly lit cathedrals or nighttime cityscapes, you need speed. Kodak Portra 800 (approx. $22.00 per roll) provides incredible saturation and surprisingly fine grain for its speed, though the cost is prohibitive for many. For monochrome enthusiasts, Ilford HP5 Plus (approx. $9.00 per roll) is nearly indestructible. You can shoot it at ISO 400, or “push” it to 1600 or 3200 in development, allowing you to capture late-night scenes with high contrast and gritty, beautiful grain. Its main drawback is that it requires a specific aesthetic; it won’t give you the clean, digital look some modern travelers prefer.
| Film Stock | Best Use Case | Approx. Price | Pros | Cons |
|---|---|---|---|---|
| Kodak Portra 400 | General Travel/Portraits | $18.00 | Exceptional latitude | Expensive |
| Fujifilm Superia 400 | Mixed Lighting/Urban | $12.00 | Great for greens/blues | Grainy if underexposed |
| Kodak Gold 200 | Bright Sun/Beaches | $10.00 | Classic warm look | Poor in low light |
| Ilford HP5 Plus | Street/Documentary | $9.00 | Very flexible (pushing) | No color information |
Navigating Airport Security and Protecting Film from CT Scanners
The greatest threat to travel photography film today is not heat or humidity, but the advent of Computed Tomography (CT) scanners at airport security checkpoints. Unlike the older, flat-bed X-ray machines that were generally safe for film under ISO 800, CT scanners use a high-intensity rotating X-ray that can fog or streak film in a single pass. These machines are increasingly common in major hubs like London Heathrow, JFK in New York, and Schiphol in Amsterdam. They usually look like large, white, rounded cubes compared to the rectangular older models.
The Hand-Check Protocol
The most effective way to protect your film is to request a manual hand-check. This process is standard in the United States under TSA guidelines, but can be more difficult to negotiate in Europe or Asia. To make this process as smooth as possible, follow these steps:
- Remove all film from its cardboard boxes and plastic canisters.
- Place all rolls into a clear, gallon-sized Ziploc bag.
- Keep this bag in an easily accessible part of your carry-on or hold it in your hand as you approach the conveyor belt.
- Politely ask the agent: “Could I please have a manual hand-check for this high-speed photographic film? It cannot go through the scanner.”
In many countries, agents may insist that the machine is safe for film under ISO 1600. While this might be true for old X-ray machines, it is categorically false for CT scanners. If you see a CT scanner, be firm but extremely polite. In some jurisdictions, like the UK, security agents are not legally required to grant a hand-check, so having a lead-lined bag like the Domke Film Guard (approx. $35.00) can serve as a last resort. Be aware, however, that if the lead bag is too opaque, the agent will simply turn up the X-ray intensity to see through it, potentially causing more damage.
Always carry your film in your carry-on luggage. Never put unprocessed film in checked baggage. The X-ray machines used for checked luggage are significantly more powerful than those at the passenger checkpoints and will almost certainly ruin your film.
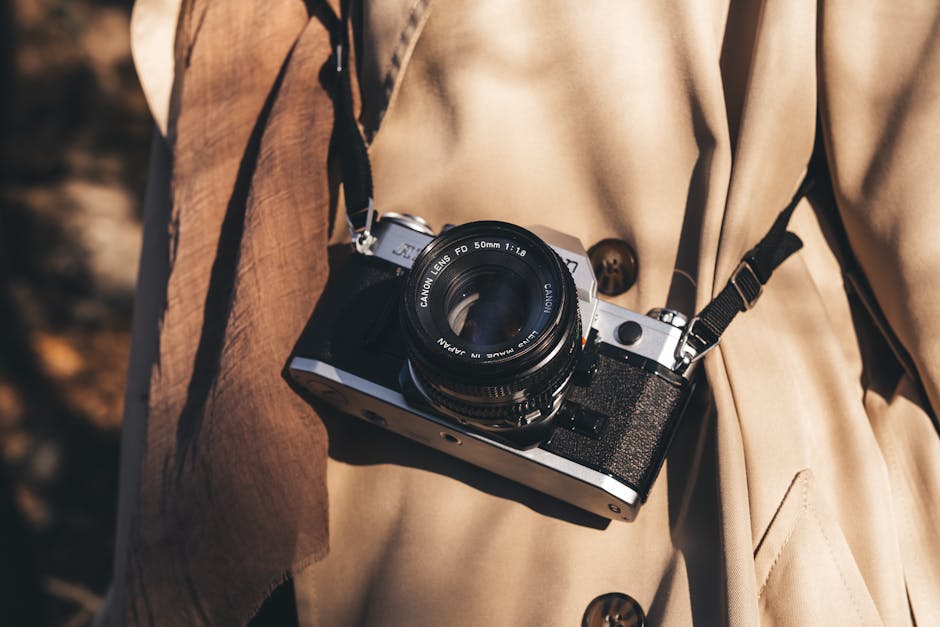
Reliable Film Camera Recommendations for Every Type of Traveler
A travel camera needs to strike a balance between durability, weight, and optical quality. If your camera breaks in the middle of a trip to the Peruvian Andes, your film stock becomes useless weight. Mechanical cameras are often preferred because they can function without batteries, though electronic cameras offer more precise metering for difficult lighting situations.
The Professional’s Choice: Nikon FE2
The Nikon FE2 (approx. $250.00 – $350.00 body only) is a workhorse for the serious traveler. It offers a top shutter speed of 1/4000th of a second, which is rare for a vintage SLR, allowing you to shoot wide-open apertures even in bright midday sun. It uses the Nikon F-mount, giving you access to some of the best glass ever made. The primary pro is its rugged, metal construction and reliable Aperture Priority mode. The con is that it is entirely battery-dependent; if the two LR44 batteries die, the camera only has one mechanical backup speed (1/250th).
The Ultralight Option: Olympus XA
For those who prioritize portability, the Olympus XA (approx. $150.00 – $200.00) is a marvel of engineering. It is a true rangefinder that fits in a shirt pocket. It features a sharp 35mm f/2.8 lens and a sliding dust cover that protects the optics without needing a lens cap. The pro is its size and silent operation, perfect for candid street photography. The con is the rangefinder patch, which is often dim and difficult to see in low-contrast situations, making focusing a challenge.
The Rugged All-Mechanical: Pentax K1000
If you want a camera that will likely survive a fall or a sandstorm, the Pentax K1000 (approx. $150.00 – $220.00) is the classic recommendation. It is completely mechanical; the battery only powers the light meter. Even if the electronics fail, the camera will still fire at all speeds. The pro is its simplicity and legendary durability. The con is its weight; it is a heavy block of metal and glass that can become a burden during long days of walking.
- Nikon FE2: Best for high-speed action and professional lens options.
- Olympus XA: Best for minimalist travelers and pocketability.
- Canon AE-1 Program: A great middle-ground with excellent automation, though prone to the “shutter squeak” over time.
- Leica M6: The gold standard for travel, but with a price tag (approx. $3,000+) that makes it a theft risk in many regions.
Post-Exposure Logistics: Storage, International Labs, and Shipping
Once you have finished a roll, the real work begins. Exposed film is more sensitive to environmental factors than unexposed film. Latent image regression—the fading of the image before it is developed—is rare but can occur if the film is subjected to extreme heat for prolonged periods. If you are traveling through the tropics, try to keep your exposed rolls in a cool, dry place, such as a hotel mini-fridge (well-wrapped to prevent condensation) or at the very least, in the center of your bag away from direct sunlight.
Developing Abroad vs. Carrying Home
You face a choice: develop your film at a local lab in a foreign city or carry it through multiple airport security checks to your home lab. Developing locally has the advantage of eliminating future X-ray risks. Cities like Tokyo, Berlin, Seoul, and New York have world-class labs (e.g., Carmencita Film Lab in Spain/Portugal or Silberra in Eastern Europe) that can provide high-resolution scans and even mail your negatives back to your home address.
The risk of local development is quality control. If you are in a remote area, a “1-hour photo” lab might use exhausted chemicals or scratch your negatives. Unless you are in a major city with a reputable professional lab, it is usually safer to keep your film and request hand-checks at the airport. If you do choose a local lab, always ask to see their recent work or check online communities like Reddit’s r/analog for recommendations in that specific city.
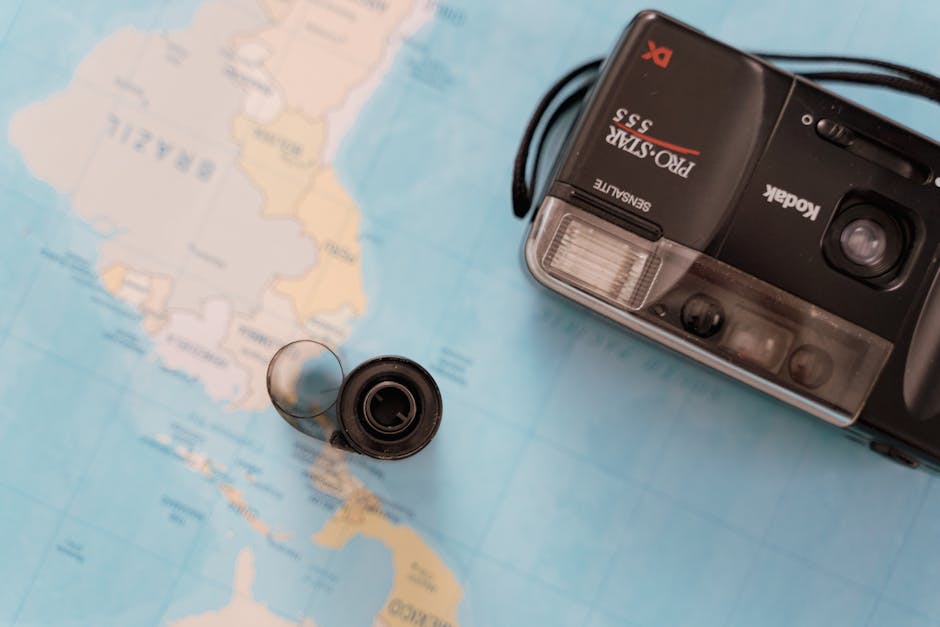
Shipping Film Internationally
If your trip is long-term—several months or more—you should consider shipping your film back to a professional lab via a courier like FedEx or DHL. When shipping, clearly label the package in the destination language and English: “PHOTOGRAPHIC FILM. DO NOT X-RAY.” International couriers often have their own security protocols, but shipping is generally considered safer than subjecting the film to ten different airport scanners over a long itinerary. This also lightens your load and gives you the peace of mind that your images are being processed while you are still on the road.
Ultimately, the success of travel photography on film depends on your organizational habits. Keep a small notebook to log your rolls, noting the location and any special exposure settings. Use a permanent marker to number your canisters as you finish them. This level of detail might seem tedious, but when you return home and receive those scans, the tangible connection to your journey will far outweigh the minor inconveniences of the analog process.